All Categories
Featured
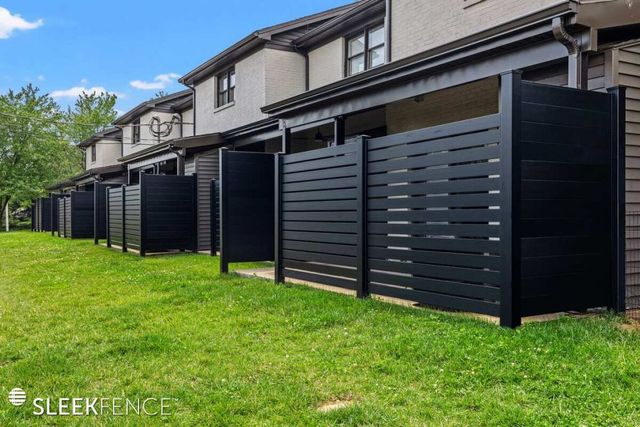
Fence posts play a vital role in preserving the stability and appearance of your fencing. When a blog post leans or ends up being damaged, it's important to attend to the issue immediately to prevent additional deterioration. Below's a detailed guide on exactly how to repair a leaning or damaged fencing post with ease.
Step 1: Establish the Source Of the Trouble
Comprehending why your fencing message is leaning or harmed is essential to applying the correct solution. Typical causes include:
Dirt erosion or loosened ground
Rot or degeneration in wood messages
Physical damages from weather condition or impact
![]()
Poor setup or improper safeguarding
Determining the reason helps make certain the trouble will not reoccur after repair service.
Step 2: Gather Tools and Materials
You'll need the following things:
Shovel or message hole miner
Hammer or pierce
Level
Gravel or concrete mix
Replacement post (if needed)
If required),Saw (for reducing timber.
Blog post repair service braces or anchors (optional)
Action 3: Fixing a Leaning Fence Blog Post
If the article is leaning however not harmed, below's exactly how to repair it:
Dig Around the Base. Make use of a shovel to dig around the leaning blog post, subjecting its base and loosening the dirt.
Correct The Alignment Of the Message. Utilize a level to inspect upright placement. Have a person hold the article upright while you change it.
Strengthen the Base
For Gravel: Fill up the opening with crushed rock, tamping it down as you go to ensure security.
For Concrete: Pour concrete right into the opening around the base of the message, guaranteeing it loads all gaps.
Secure and Establish. Enable the concrete to treat for at the very least 24 hours. Once it's solid, the post should stay upright.
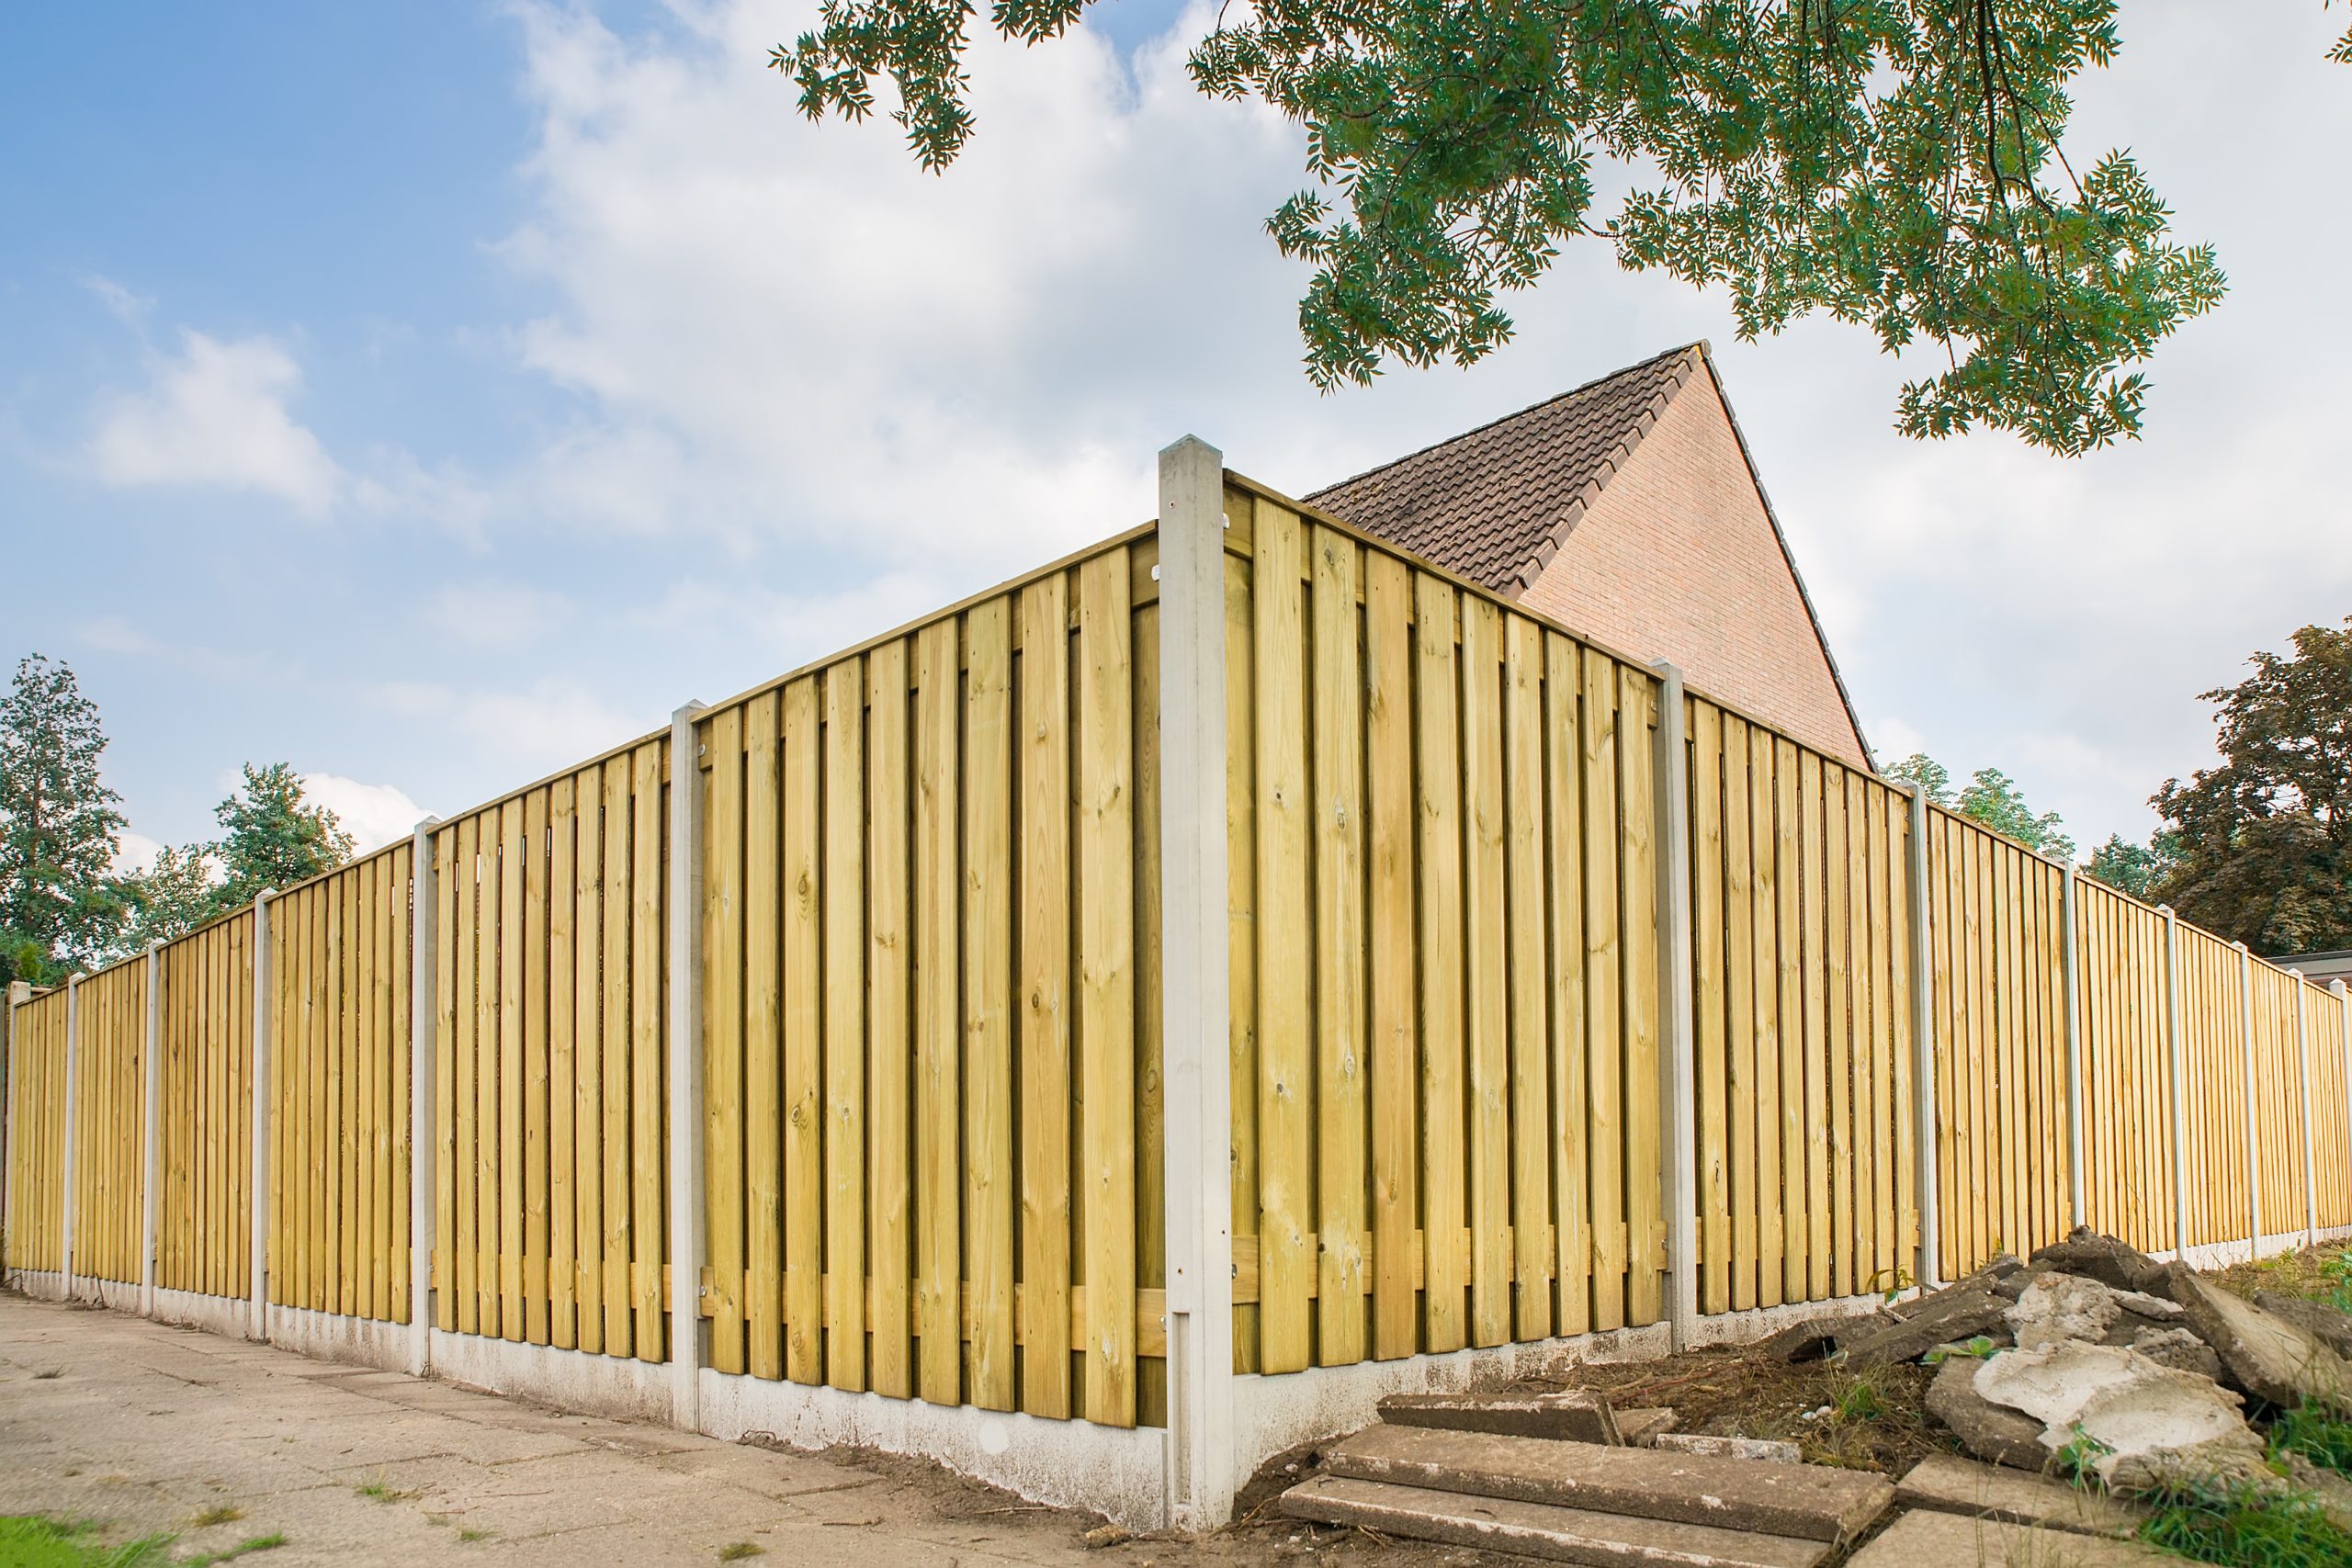
Step 4: Changing a Damaged Article
![]()
When a blog post is damaged or rotten, substitute is typically the finest option.
Get Rid Of the Old Blog Post. Remove the damaged blog post along with any type of concrete footing. You may require a lever for stubborn items.
Prepare the Hole. Clean the hole and make it somewhat larger if necessary. Make certain the deepness is at the very least one-third the article's total length for stability.
Mount the New Blog Post. Area the brand-new article in the red and inspect positioning with a degree. Secure it temporarily with risks or braces.
Fill and Secure. Usage gravel or concrete to fill up the hole, tamping or putting as needed. Let the product set prior to affixing fence panels or rails.
Action 5: Protect Against Future Issues.
To maintain your fencing articles strong and resilient, comply with these suggestions:
Use pressure-treated wood or steel articles immune to rot and degeneration.
Guarantee appropriate water drainage to stop water from pooling at the base.
Check your fence every year for indications of wear or instability.
Conclusion
Dealing with a leaning or damaged fence post is a manageable DIY task that can save you time and cash. By recognizing the problem, utilizing the best materials, and adhering to these steps, you can restore your fencing to its initial problem. Normal maintenance and timely repair work will certainly ensure your fencing continues to be a strong and eye-catching feature of your property for many years ahead.
Step 1: Establish the Source Of the Trouble
Comprehending why your fencing message is leaning or harmed is essential to applying the correct solution. Typical causes include:
Dirt erosion or loosened ground
Rot or degeneration in wood messages
Physical damages from weather condition or impact
Poor setup or improper safeguarding
Determining the reason helps make certain the trouble will not reoccur after repair service.
Step 2: Gather Tools and Materials
You'll need the following things:
Shovel or message hole miner
Hammer or pierce
Level
Gravel or concrete mix
Replacement post (if needed)
If required),Saw (for reducing timber.
Blog post repair service braces or anchors (optional)
Action 3: Fixing a Leaning Fence Blog Post
If the article is leaning however not harmed, below's exactly how to repair it:
Dig Around the Base. Make use of a shovel to dig around the leaning blog post, subjecting its base and loosening the dirt.
Correct The Alignment Of the Message. Utilize a level to inspect upright placement. Have a person hold the article upright while you change it.
Strengthen the Base
For Gravel: Fill up the opening with crushed rock, tamping it down as you go to ensure security.
For Concrete: Pour concrete right into the opening around the base of the message, guaranteeing it loads all gaps.
Secure and Establish. Enable the concrete to treat for at the very least 24 hours. Once it's solid, the post should stay upright.
Step 4: Changing a Damaged Article
When a blog post is damaged or rotten, substitute is typically the finest option.
Get Rid Of the Old Blog Post. Remove the damaged blog post along with any type of concrete footing. You may require a lever for stubborn items.
Prepare the Hole. Clean the hole and make it somewhat larger if necessary. Make certain the deepness is at the very least one-third the article's total length for stability.
Mount the New Blog Post. Area the brand-new article in the red and inspect positioning with a degree. Secure it temporarily with risks or braces.
Fill and Secure. Usage gravel or concrete to fill up the hole, tamping or putting as needed. Let the product set prior to affixing fence panels or rails.
Action 5: Protect Against Future Issues.
To maintain your fencing articles strong and resilient, comply with these suggestions:
Use pressure-treated wood or steel articles immune to rot and degeneration.
Guarantee appropriate water drainage to stop water from pooling at the base.
Check your fence every year for indications of wear or instability.
Conclusion
Dealing with a leaning or damaged fence post is a manageable DIY task that can save you time and cash. By recognizing the problem, utilizing the best materials, and adhering to these steps, you can restore your fencing to its initial problem. Normal maintenance and timely repair work will certainly ensure your fencing continues to be a strong and eye-catching feature of your property for many years ahead.
Latest Posts
Experience The other day's Pub: Where Taste Fulfills Tradition
Published May 14, 25
1 min read
Experience Expert Vision Services in Panama City, FL at the Eye Center South
Published May 14, 25
1 min read
Experience Laser Eye Surgery in Your Area at Eye Center South
Published May 14, 25
1 min read
More
Latest Posts
Experience The other day's Pub: Where Taste Fulfills Tradition
Published May 14, 25
1 min read
Experience Expert Vision Services in Panama City, FL at the Eye Center South
Published May 14, 25
1 min read
Experience Laser Eye Surgery in Your Area at Eye Center South
Published May 14, 25
1 min read